Creating a Work Order
It’s easy to start a new Work Order in OFS Pro:
- First, navigate to the toolbar Navigate to the toolbar on the left.
- Press “New” and select “Work Order“:

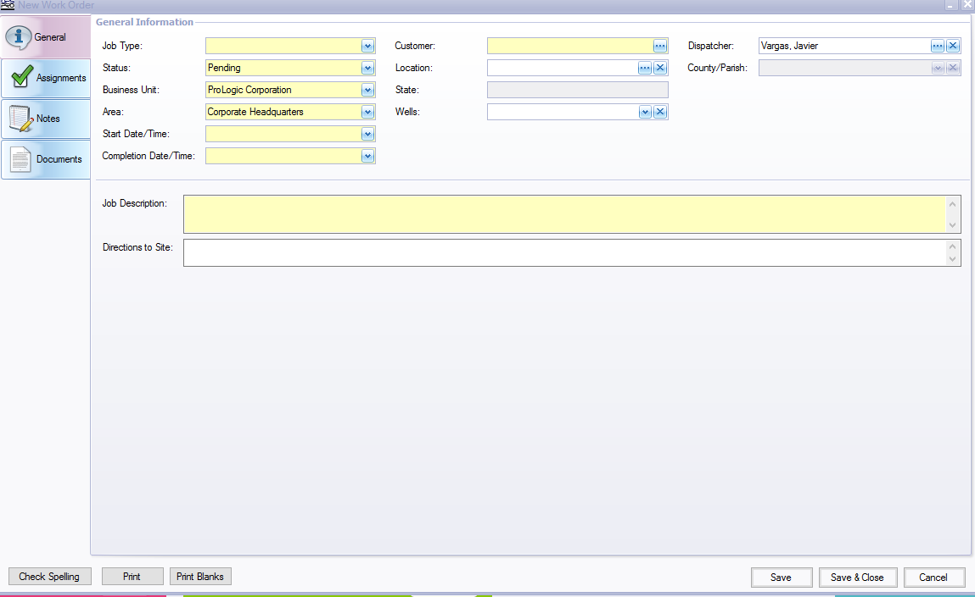
- The New Work Order screen will appear with the fields to fill in for each form of the Work Order. Yellow fields indicate they are mandatory in order for the Work Order to be created:

- As part of OFS Pro’s user-friendly interface, detail fields will automatically display or be filled-in with preset information as you go along.
- For instance, choosing a Customer will allow you to pick between Locations with addresses already associated with the Customer:

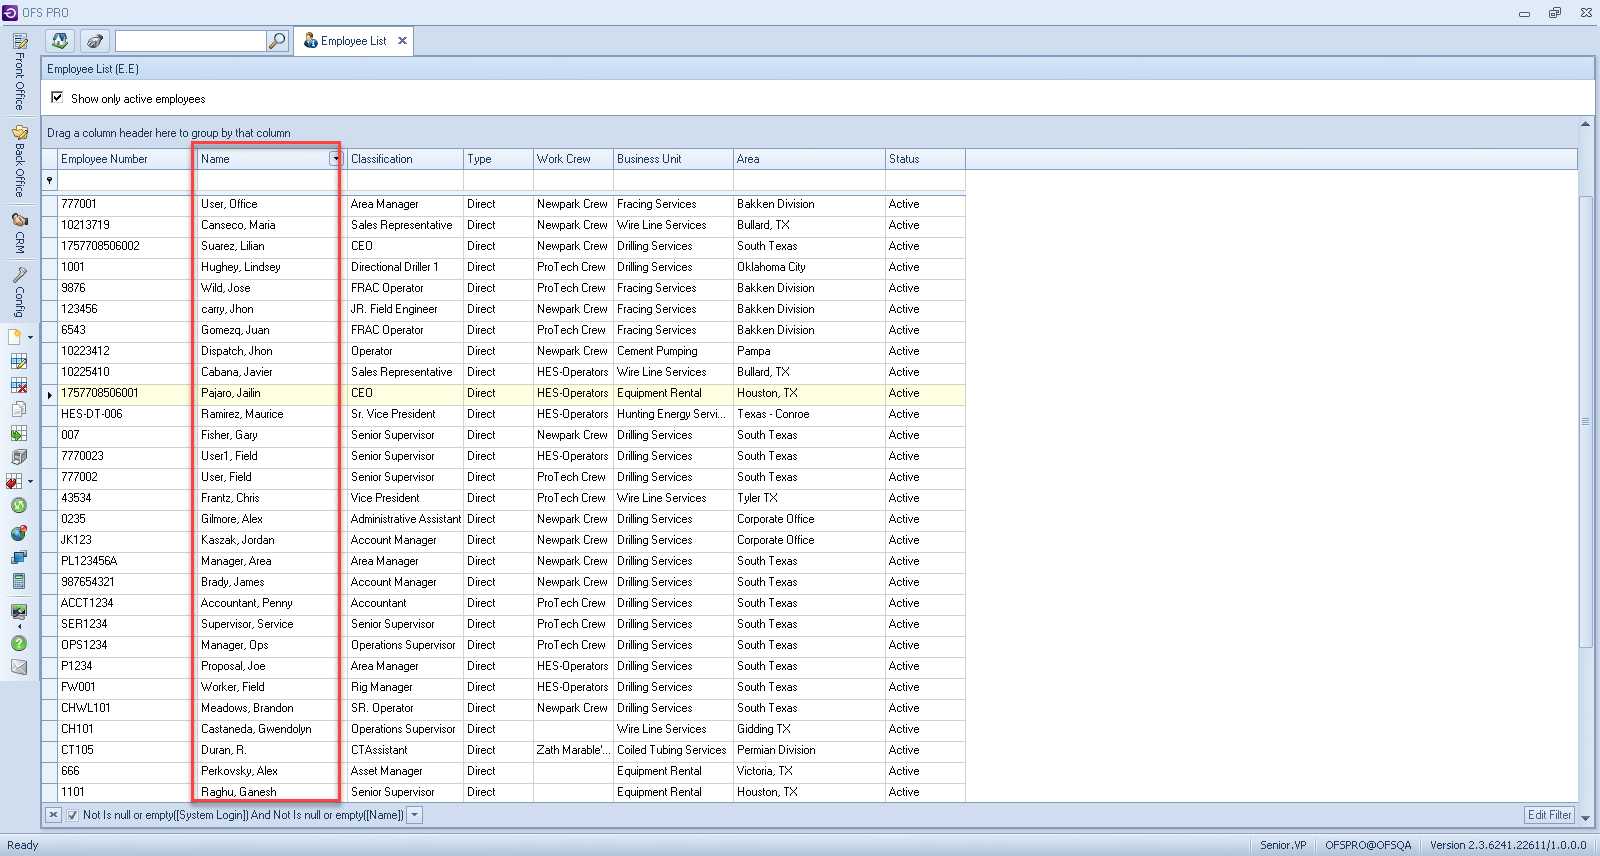
- Even if your database has hundreds of entries, it’s simple to find the one you’re looking for!
- Just start typing into the combination drop-down and text field to filter by any data linked to the resource.

At the Assignments tab in the Assets area, the column “Serviced” is available for Internal Work Orders only.

To add assets to the Work Order users could use the option search by clicking on the search icon to look for a specific asset.

- At the Assignments tab Employees and Assets could be added to the Work Order. They can either be added by clicking the green plus sign on the upper-right of the grid, or by right-clicking the grid and selecting “New”.
- Employee Crews can be added by clicking the “Add Crews” button found near the bottom-right of the Employees grid.
- Asset Groups can be added by clicking the “Add Group” button found near the bottom-right of the Assets grid.
- Assign a Supervisor to your project by clicking the “…” button next to the Supervisor field.
- You can sort and search for Employees in the grid in the same way as before. Easy!

- Depending on the job type selected, you may have a tab to record extra details related to your project.
- These aren’t mandatory to fill out, but they will appear on the final Field Ticket and may be of use to the Employees or Customer.

- Finally, the Work Order contains a Notes tab and a Documents tab. The Notes tab allows you to input notes in plaintext, as well as upload relevant files from your hard drive.
- The Documents tab allows you to attach previously uploaded documents to your Work Order for other users to see.
- Add and delete these using the same icons as the Assignments tab, or by right-clicking.

- And that’s it! Select “Save & Close“, and your work order will be ready to be completed in the field.
- The Supervisor assigned will be notified automatically and will change the status to “In Progress” once work is set to begin.
- The rest of the work is done for you! It’s that easy.